A must-read for beginners: Comparison and recommendations of Home Assistant deployment methods
- What is Home Assistant?
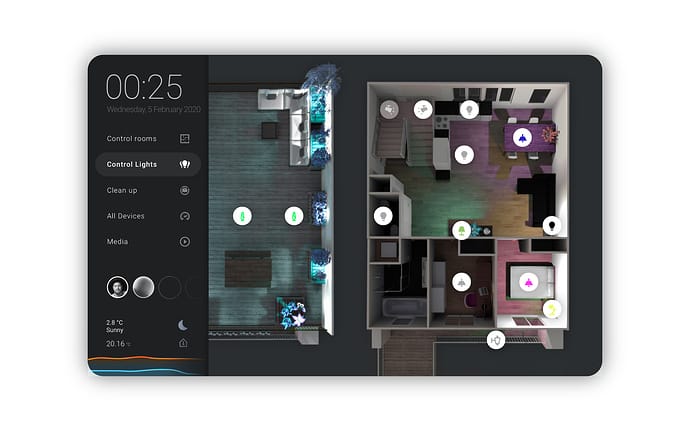
Brief Introduction: An open-source smart home platform that supports local deployment and is widely compatible with various devices.
Why choose it (compared to cloud-based platforms like Mijia and HomeKit?) Now that Mijia officially supports it, you can check out the GitHub repository for details. It's extremely stable.
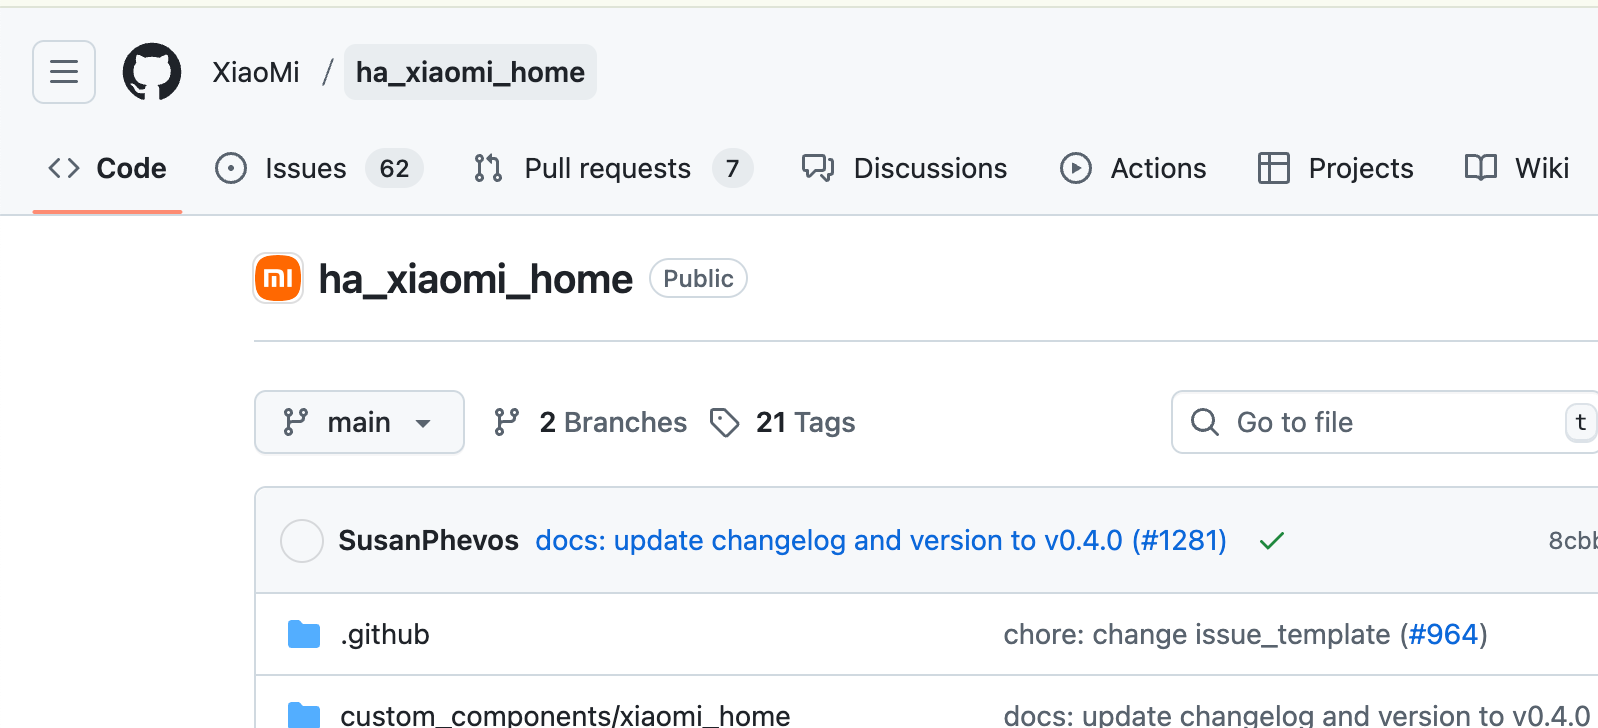
https://github.com/XiaoMi/ha_xiaomi_home
- Main Deployment Options for Home Assistant
- Home Assistant OS (Recommended for Most People)
Introduction: Official all-in-one system that runs on Raspberry Pi, NUC, VM, etc.
Advantages: Built-in Supervisor, extensive plugins, and easy updates
Suitable for: Beginners, users who want quick deployment and plugins
The downside is that you need to buy the equipment, which is quite expensive. Many vendors are now selling Home Assistant OS at a low price by flashing an Android-powered ARM-based Linux system onto a TV box. However, for the average user, it's still very cost-effective and convenient!

- Home Assistant Supervised
About: Installs a complete HA and Supervisor environment in a Debian system.
Pros: Provides Supervisor functionality, supports plugins, backups, and UI management.
Cons: Requires strict system requirements (only supports Debian).
Suitable for: Users with a Linux foundation who want a controllable system.
- Home Assistant Container
About: Home Assistant Core running in a Docker container.
Pros: Lightweight, flexible, and easy to integrate with other containers.
Cons: No Supervisor, no plugin store, and no backup features.
Suitable for: Users familiar with Docker and with extensive customization needs.
- Home Assistant Core (Pure Python Installation)
About: Runs directly in a Python environment.
Pros: Purest and most controllable.
Cons: Complicated configuration, lacks many convenient features.
Suitable for: Developers and users who want in-depth customization.
- Virtual Machine Deployment (VMware, VirtualBox, Proxmox)
Mostly used for Home Assistant OS. Image
Suitable for users with existing servers or those who want to try it out quickly.
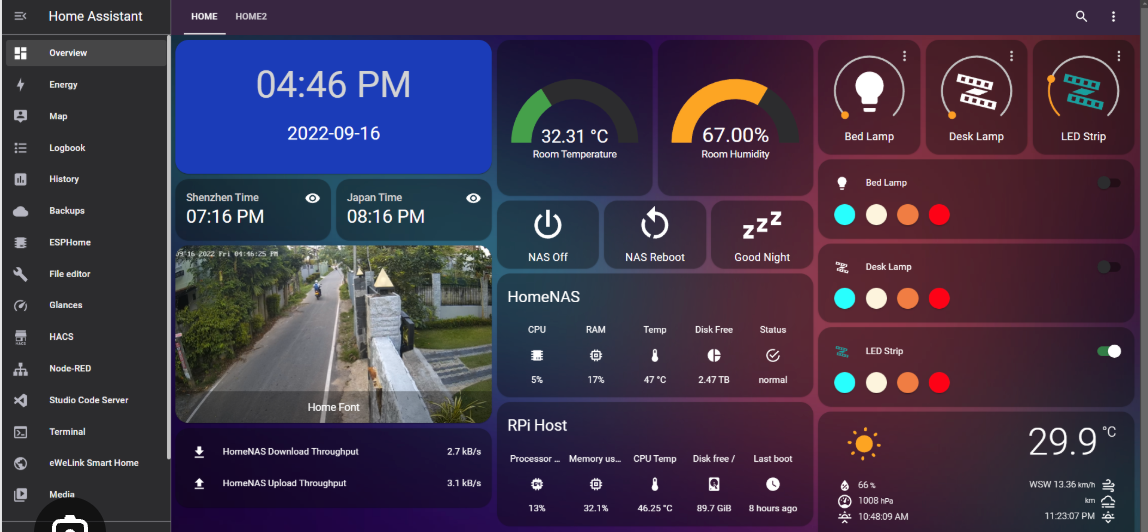
I chose the Docker deployment mode, which supports LAN shared access for skins and controls, and feels sufficient for our needs. Many advanced features aren't really needed, so since I'm trying it out first, I decided to deploy it on an Apple M4-based Mac mini. I'll publish a step-by-step deployment tutorial for this tutorial later.
If you're new to HA, I highly recommend using Home Assistant OS.
If you want to combine it with other services (such as Node-RED, MQTT, or Zigbee2MQTT), consider Docker deployment.
I recommend using an SSD and a device like a Raspberry Pi 4B or Intel NUC for performance and stability.
Optional Extensions (to be covered in subsequent articles):
Deployment (e.g., burning the Home Assistant OS image, Docker commands, etc.)
Basic Post-Deployment Configuration Process
Commonly Recommended Plugins (File Editor, HACS, Samba, etc.)